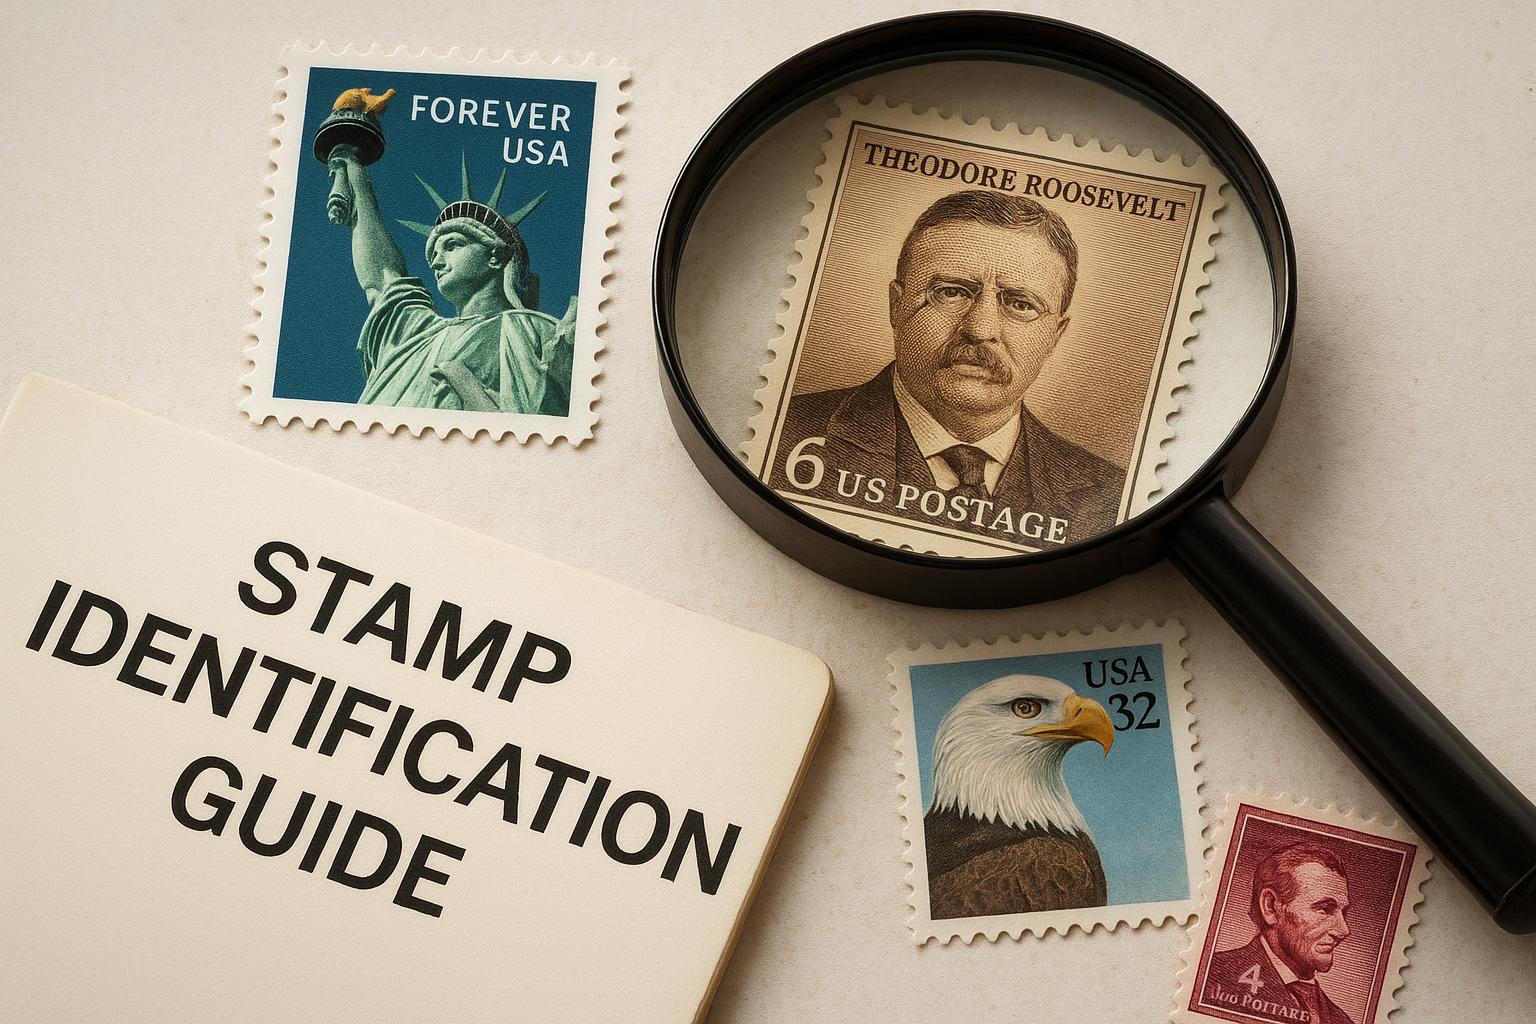
People who handle mail or collect stamps often assume a “Forever” stamp is just a pretty picture and a guarantee against future rate increases. That’s true in a basic sense, but if you want to actually tell one Forever design from another, or to read the subtle cues that tell you where and when a stamp was produced, you need a method. A forever-stamp identification guide is not a single checklist you print and pin to your wall. It’s a set of observations and small tools that let you read stamps like a neighbor’s backyard—practical and specific.
## Forever-Stamp Identification Guide: Practical Steps For Telling Stamps Apart
A useful forever-stamp identification guide starts with four simple moves: look, touch, compare, and record. Look closely at the artwork and margins. Touch for paper type and gum. Compare to a known example or a reference photo. Record what you find with a quick note and a photograph. Those steps will separate most everyday variations from things that need deeper research.
If you read only one sentence that you remember from this guide, make it this: design alone won’t tell you everything. Two stamps with the same art can come from different print runs, printers, perforations, or even adhesives. The differences are small, but they matter for identification.
### What Makes A Forever Stamp Different
Forever stamps carry a constant face value, but their production history is not constant. Over the years the Postal Service has used different printers, different paper stocks, different adhesive, and different security features. Here are the main categories of variation to expect.
– Design Version: Sometimes the Postal Service issues the same image more than once with a slight redesign. For example, a commemorative might later appear with a darker background or a re-cropped portrait.
– Print Method: Offset lithography, gravure, and digital printing all produce different surface textures and dot structures. Under magnification they look distinct.
– Perforation: The holes on the edge change depending on how the sheet was cut or the machine used. Coil stamps typically have one-sided or special perforation patterns.
– Gum/Adhesive: Older stamps might have gummed backs, newer ones often use pressure-sensitive adhesives. The presence or absence of gum can be a quick tell.
– Paper And Coating: Uncoated, coated, matte, or glossy finishes affect how ink sits on the surface. Some papers fluoresce under UV light; some don’t.
– Security Features: Microprinting, tagging (phosphor bars or zones), and tagging patterns vary between issues and printings.
You don’t need to memorize every combination. Learn to spot one or two differences, then use a reference to confirm.
### Tools For Stamp Identification
You don’t need a lab. A few inexpensive tools will let you make useful observations at home.
– 10x Loupe: This is the single most valuable purchase. It reveals dot patterns, microprinting, and tiny flaws.
– Cheap UV Light: A small handheld UV lamp will show tagging and fluorescent papers. These lamps are inexpensive and portable.
– Ruler That Measures Perforations (Perforation Gauge): A basic gauge reveals the number of perforations per 2 centimeters. You’ll see numbers like 10.5, 11, or 11.5.
– Flatbed Scanner Or Smartphone Camera: High-resolution scans or photos let you compare details side-by-side with online references.
– Reference Catalog Or Trusted Website: Scott, Stanley Gibbons, and various postal service archives are useful. For immediate comparison, many collectors use online auction photos.
If you want to do advanced work, a water-immersion test will show if a stamp is self-adhesive or gummed, but that destroys the gum and is not recommended for valuable items.
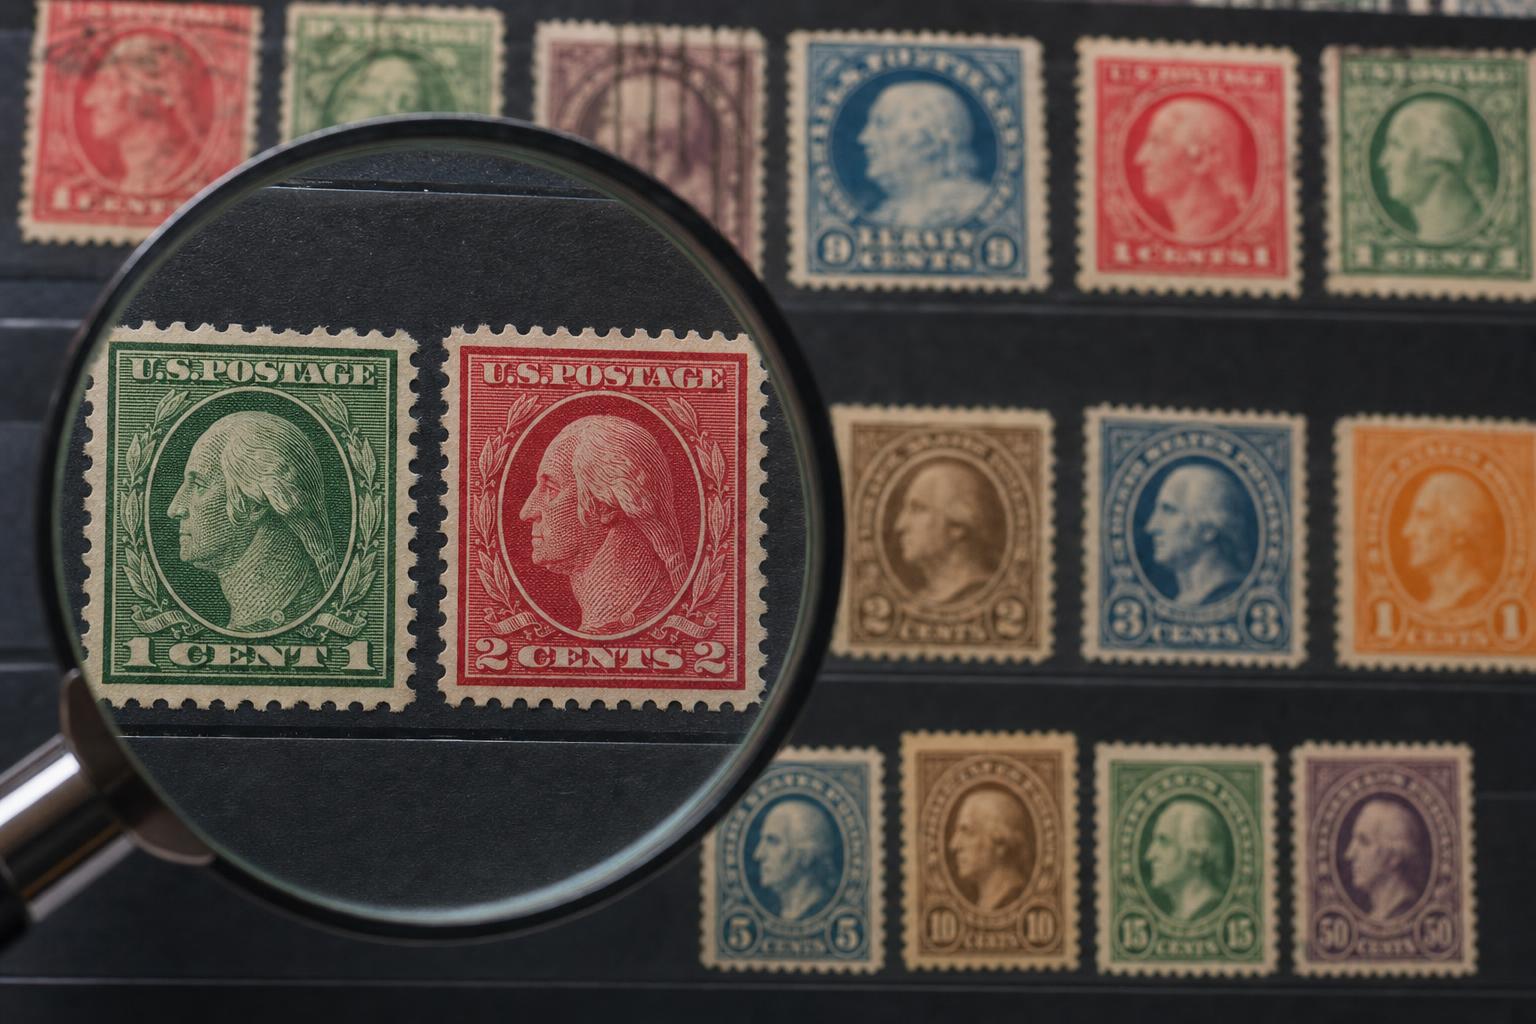
#### Magnification And Watermark Detection
Under a 10x loupe you can confirm whether a design was printed digitally or with halftone dots. Digital prints often have a more random dot structure. Halftone dots arrange in regular patterns. Watermarks require a watermark detector or a pale watermark tray. It’s worth checking because some issues have watermarks that only appear on certain printings.
### Reading Stamps: What To Look For
“Reading stamps” is more than identifying the issue. It’s interpreting evidence that tells you where it came from and how it travelled through production. When you approach a stamp with reading stamps in mind, look at the following sequence.
1. Immediate Visual Cues: Color tone, clarity of design, and any obvious overprints or errors.
2. Edges And Perforation: Neat, uniform perforations indicate sheet-fed work. Narrow margins and one-sided perforations suggest coils.
3. Back Of The Stamp: Gum impressions, hinge remnants, or adhesive residues provide clues. If the back has a pattern of phosphorescence under UV, note it.
4. Microscopic Flaws Or Re-Entries: A small ink smudge, a doubled element, or misregistration can tie a stamp to a specific plate or printer.
5. Tagging Bars: The number, width, and placement of tagging bars (visible under ultraviolet) often point to a printing period.
Keep in mind that postal usage changes the reading. A canceled stamp shows postal ink that might obscure tiny details. That’s fine for most purposes, but if you’re specifically conducting stamp identification you’ll prefer mint or lightly hinged copies.
### Comparing To References
You will run into many “looks like” situations. The simplest tactic is side-by-side comparison. Use a dated auction photo or a scanned plate from a catalog. In many cases, a small detail solves the mystery: a missing star on a flag, a slightly different serif in the type, or a shifted date.
Online communities are useful for confirmation. Post a high-resolution photo and include your observations: perforation measurement, gum type, and whether any tagging shows under UV. Experienced collectors will often point out the exact printing or a known variety.
### Practical Examples To Practice With
Examples make this less abstract. Here are a few real-world situations and how a forever-stamp identification guide helps.
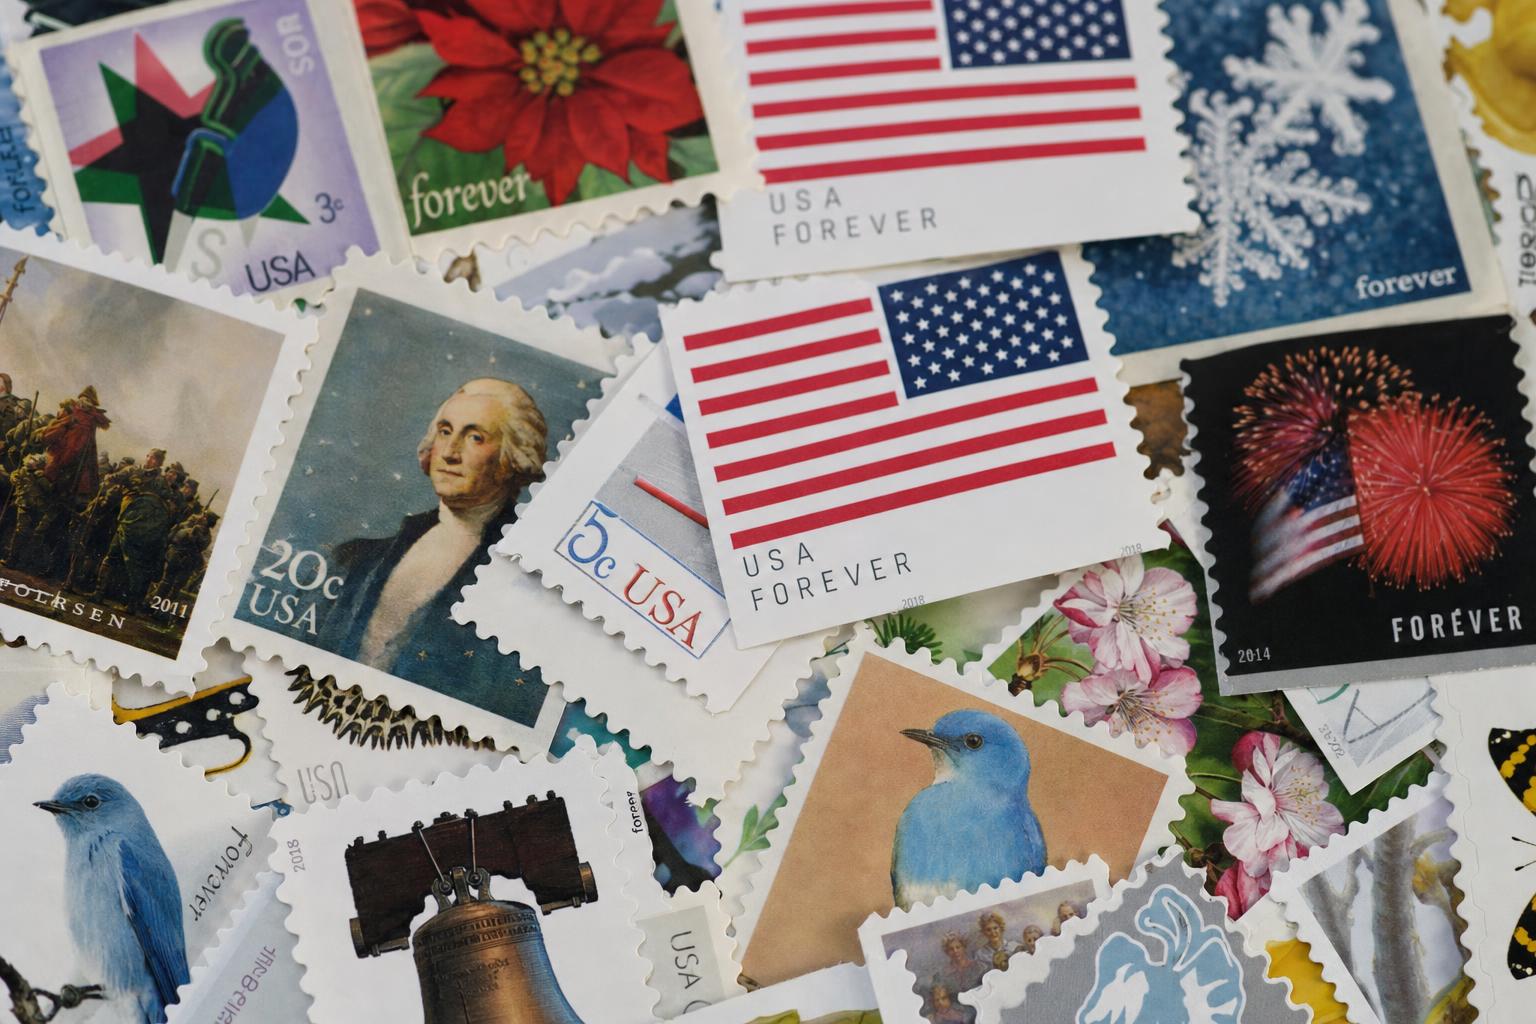
– The American Flag Forever: Different printings exist with subtle color shifts and differences in perforation. If you have two identical-looking flags, measure the perforations and check the tagging. One might have narrow phosphor bands; the other has full fluorescent tagging. That tells you they came from different print runs.
– Coil Versus Pane: A sunflower design issued as both coils and panes can be told apart by perforation style and margin presence. Coils often have a straight edge or one-sided perforations and may show machine perforation marks that panes lack.
– Reprints With Minor Changes: A portrait stamp reissued for a later event may have the same portrait but different border ornamentation. A loupe reveals whether the border pattern matches the catalog plate for the earlier issue.
When I first started, I would find two stamps that looked interchangeable. After I learned to measure perforations and check for tagging under UV light, many puzzles resolved in minutes. Now I know which stamps need more research and which don’t.
### How To Record And Verify Findings
Keep a simple spreadsheet or a notebook. Record the date you examined the stamp, the measurements, gum type, whether a uv test was positive, and a photo file name. Over time you build a mini-database that helps you not only identify stamps but detect fakes or unusual items.
Verification is a second step. If you believe a stamp is an unusual variety, check the major catalog or a specialist society. Many areas have specialized handbooks that list tiny plate varieties. If you suspect a major error or a valuable variation, seek a certificate from an accredited philatelic expert.
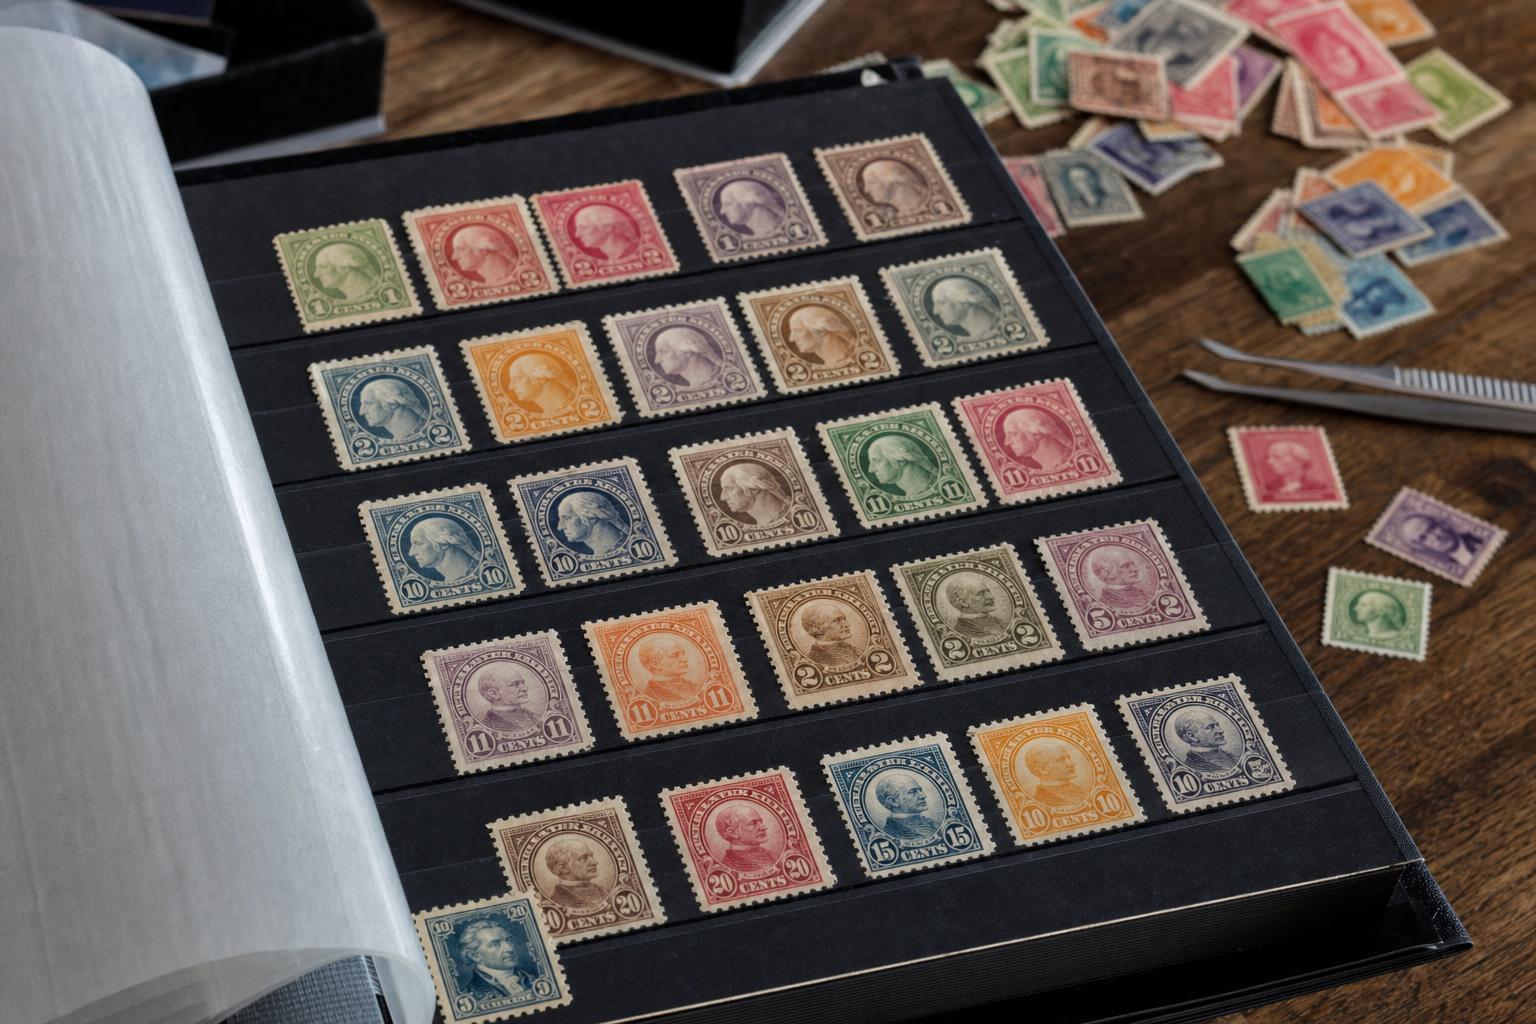
#### Notes On Handling And Preservation
Handle stamps by the edges with tweezers. Avoid touching surfaces—oils from fingers change how ink reflects and can damage gum. Store in acid-free mounts or stock pages. For test photos, use even light and avoid flash reflections.
### Common Pitfalls And How To Avoid Them
Two common mistakes new identifiers make: relying only on color and assuming all Forever stamps of the same art are identical. Color can mislead because inks fade, and printing batches vary. Assume that two similar-looking Forever stamps might be different until you confirm measurements and tagging.
Another trap is misreading cancellations as design features. Postal ink can look like a printing flaw. Always try to view the stamp under different lighting.
Stamp collectors sometimes over-value minor differences. A tiny shift in perforation won’t make a stamp rare unless it’s a known error or from a scarce printing. Use your forever-stamp identification guide to separate the everyday variants from the genuinely significant ones.
### When To Consult Experts
When you find something you can’t place by comparison, reach out. Specialist societies and postal history groups exist for most topics. If a stamp is potentially valuable, get a formal certificate. Experts can confirm whether what you have is a printing variety, a plate flaw, or an altered item.
For many people, the goal is practical: to know whether a stamp should be listed as common or needs further research. That’s a useful aim and one that a forever-stamp identification guide supports without requiring expensive lab gear.
## Where Stamp Identification Skills Pay Off
Knowing how to do stamp identification saves money and time. It prevents you from paying premiums for ordinary printings. It also helps when you receive unwanted lots, so you can sort quickly between what to sell, what to keep, and what to pass on. If you follow the look-touch-compare-record process, you’ll find your confidence grows fast.
You will sometimes recieve a pack of stamps and wonder which are collectible and which are just everyday postage. The skills described here let you decide, in a few careful minutes, which pieces deserve more attention and which can be boxed and mailed again.
Leave a Reply